THUNDERCAN SUPPRESSOR DISASSEMBLY & REASSEMBLY
Follow the numbered tiles below. Orientation labels show Barrel End vs Muzzle End. Reassemble in the reverse order.
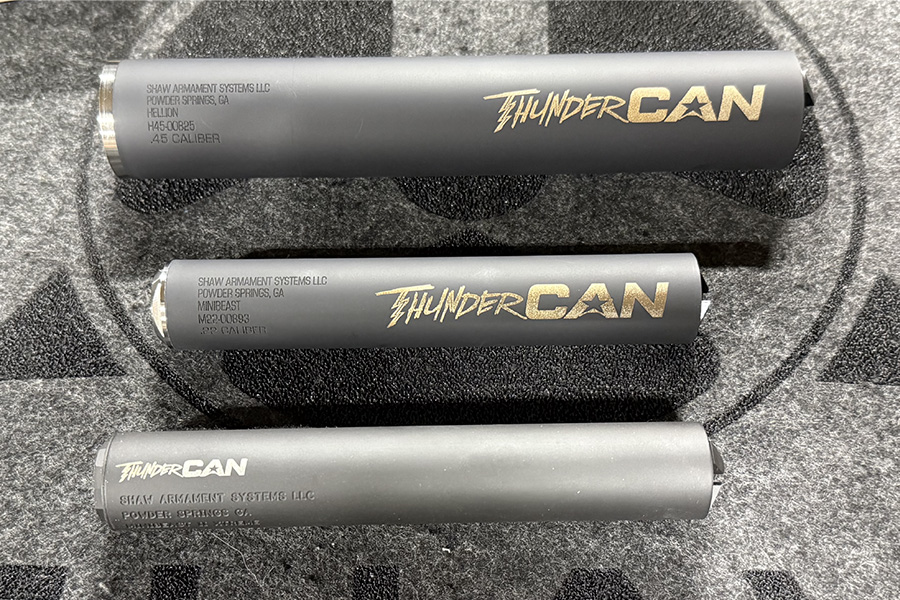
1) Assembled
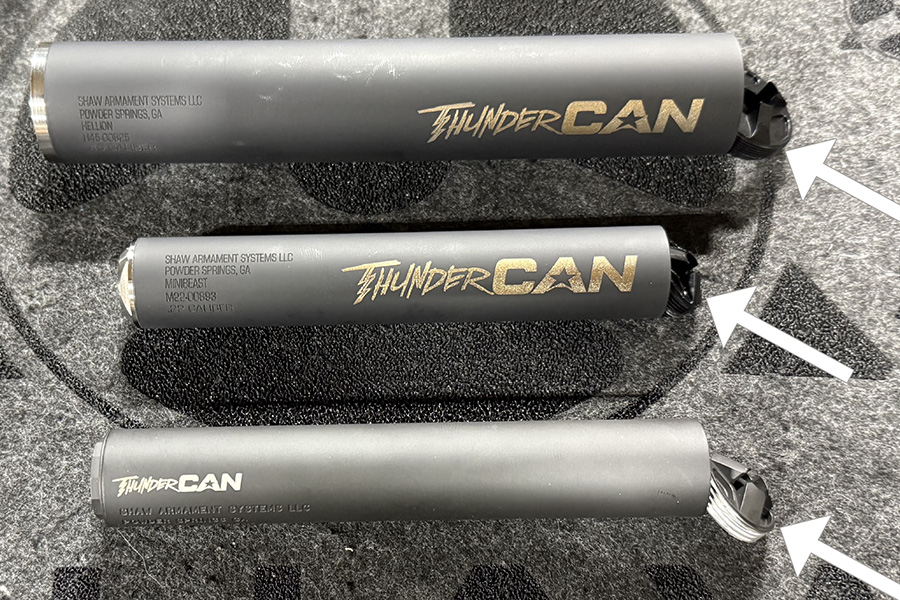
2) Remove Front Cap
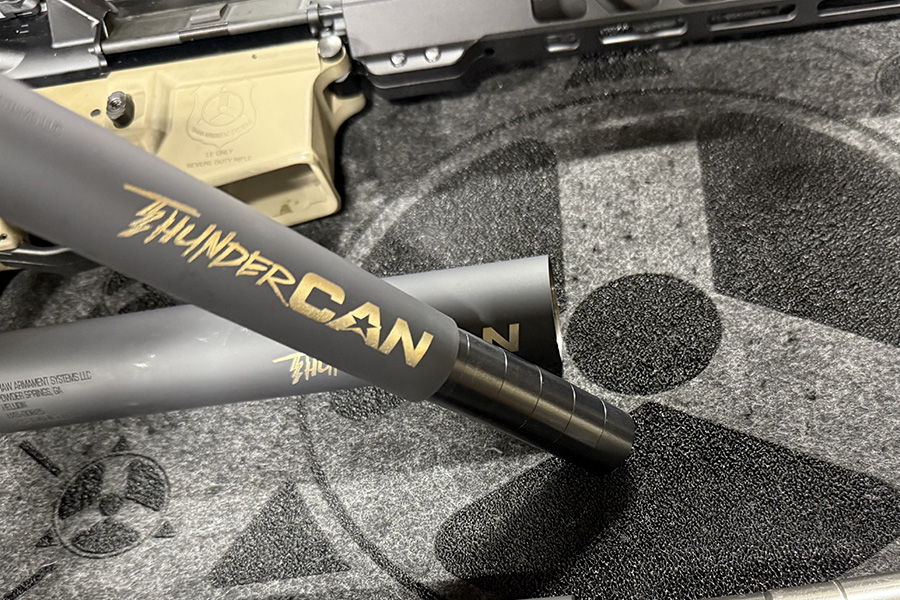
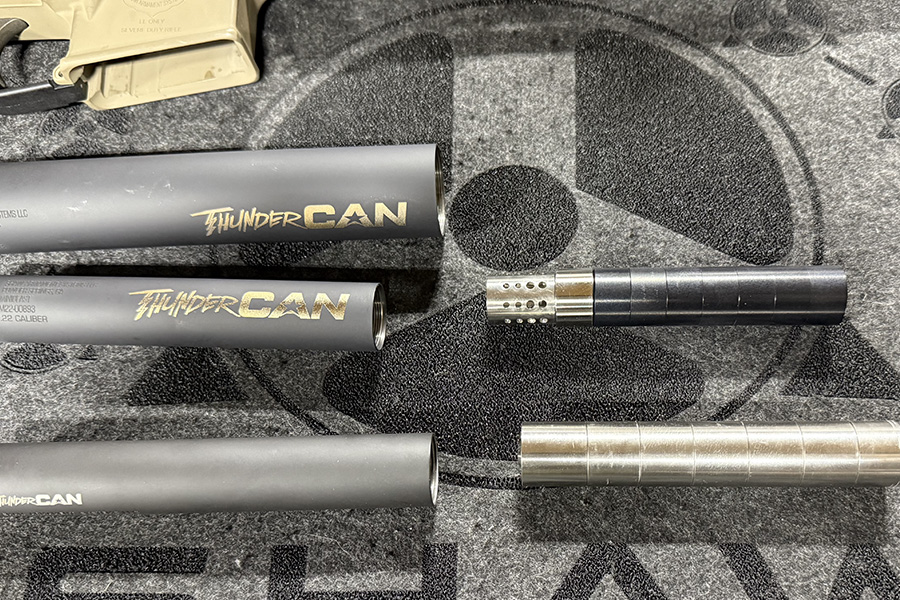
3) Dump Tube Upside Down — Empty the Baffles
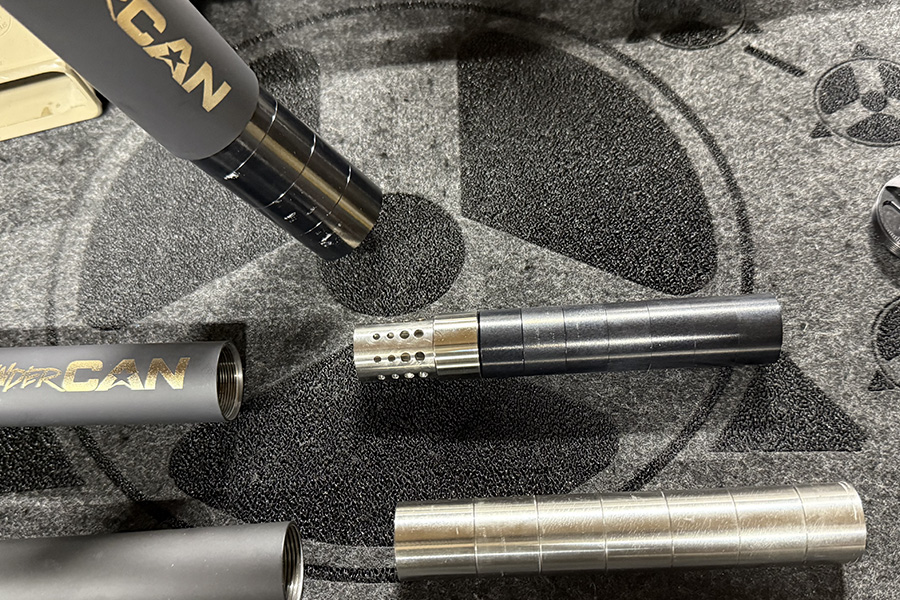
4) Baffles Removed — Layout
This is how they should look once baffles have been removed.
This is how they should look once baffles have been removed.
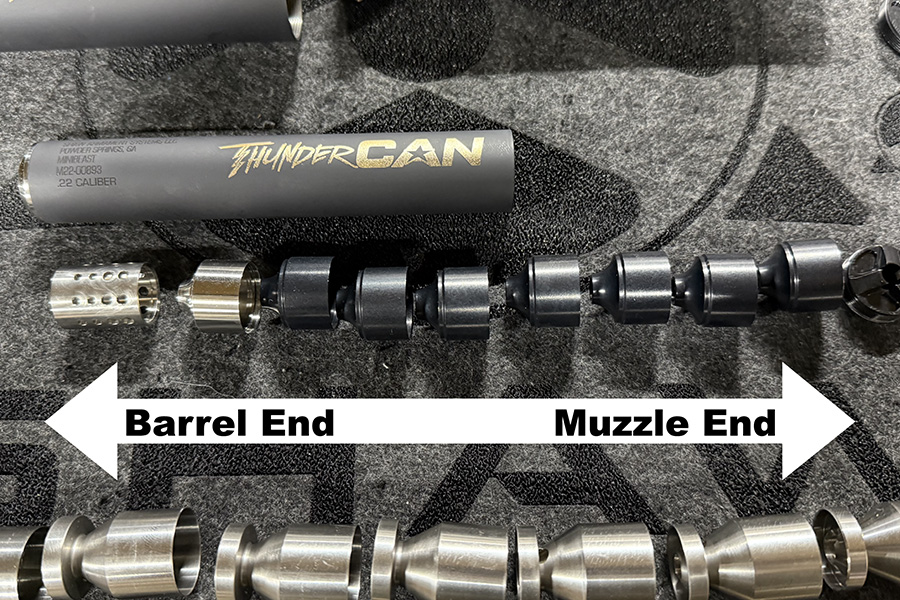
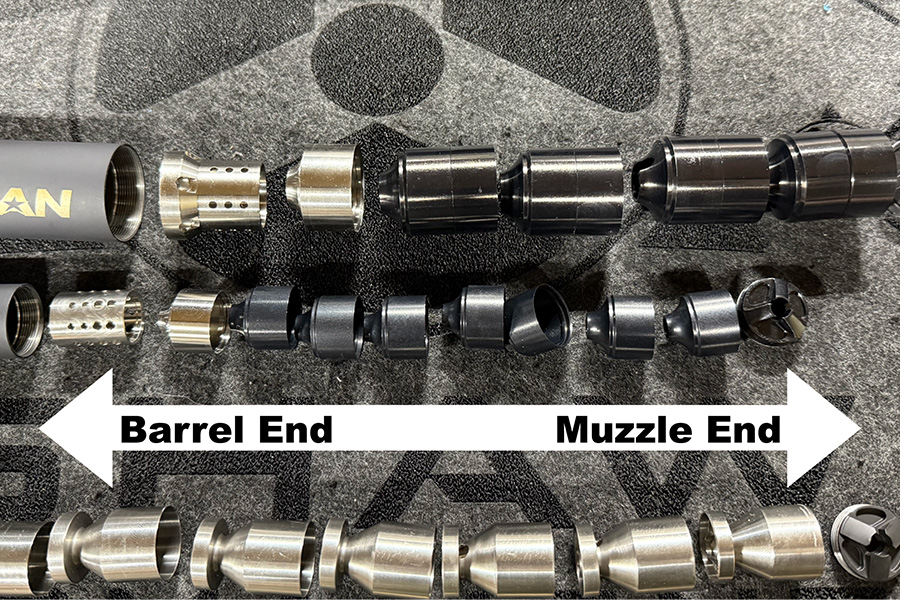
5) Exploded View — Completely Disassembled
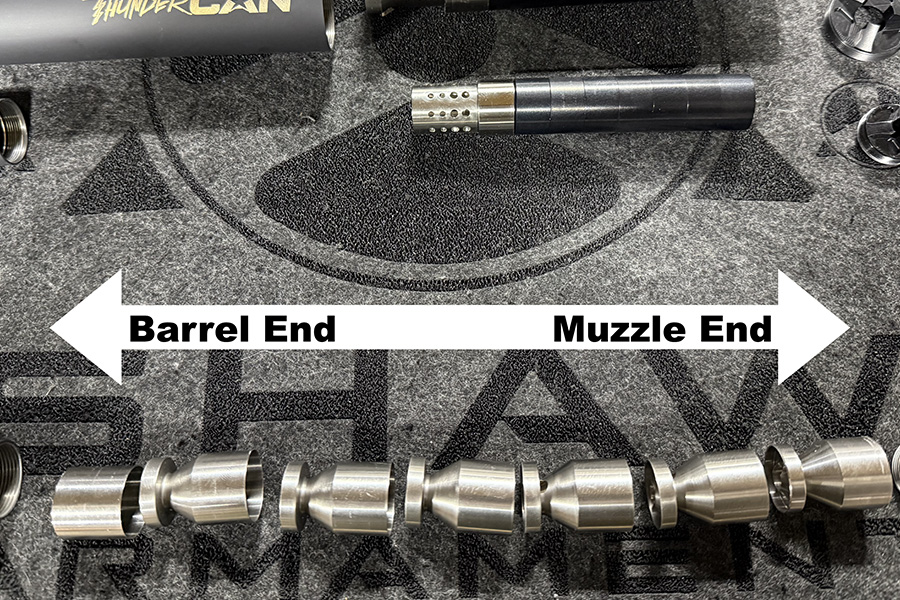
6) Orientation
Barrel End vs Muzzle End labels for correct stack order.
Barrel End vs Muzzle End labels for correct stack order.
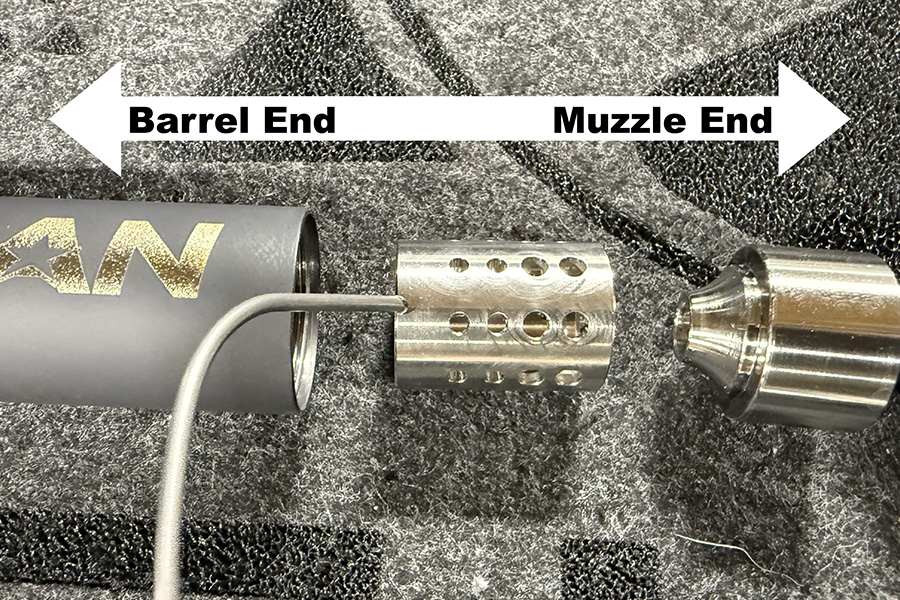
7) Blast Chamber Orientation
8) Clean Components
Brush carbon, wipe with solvent, dry fully; light oil on threads.
Brush carbon, wipe with solvent, dry fully; light oil on threads.
9) Reassemble in Reverse Order
TOOLS YOU’LL NEED
Non-marring strap wrench
For tight front caps—avoid marring the finish.
For tight front caps—avoid marring the finish.
Nylon/brass brush & picks
For carbon removal from baffles & tube.
For carbon removal from baffles & tube.
Solvent & lint-free wipes
Use non-chlorinated cleaner; dry thoroughly.
Use non-chlorinated cleaner; dry thoroughly.
Compressed air
Blow out debris from tight features.
Blow out debris from tight features.
Anti-seize / light oil
Very light film on threads during reassembly.
Very light film on threads during reassembly.
Nitrile gloves & bench mat
Protect hands/surfaces during cleaning.
Protect hands/surfaces during cleaning.
Important: Do not use ultrasonic cleaners on aluminum components. Avoid aggressive abrasives on anodized parts. If a cap or core seems seized, stop and contact SAS support to avoid damage.
LIFETIME WARRANTY
SAS provides a limited lifetime warranty against all manufacturing defects on all products manufactured by SAS. Warranty Information.